Project Setup

It is time for our first interaction with Github Classroom. GitHub Classroom is a powerful tool designed to streamline the way coding assignments are distributed and reviewed in educational settings. It leverages GitHub, a popular version control and collaboration platform, to provide a space where instructors can easily create, distribute, and grade programming assignments. Each student receives their repository for an assignment, ensuring that their work is organised and isolated. This setup simplifies submission and grading processes and introduces students to practices used in real-world software development, like using Git for version control and collaborating through pull requests. GitHub Classroom is an excellent resource for enhancing learning and teaching experiences in computer science courses.
🚀 Accessing the Assignment
Make sure you have an existing Github account, connected to Github Classroom and that you are logged in. Accept your assignment by clicking on the following link $ASSIGNMENT1$. This will take you to the assignment acceptance page displayed below. Please click on “Accept this Assignment”

Once you accept your assignment, you are greeted with the page below:

You now have two options: using either the locally downloaded files or using the online editor.
Option 1: Online Editor
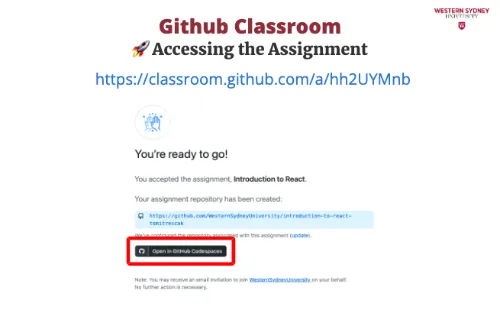
If you do not want to install applications and tools on your local computer, you are welcome to use Github Codepsaces, an online editor that allows you to work remotely on your files. To start the online editor, click on “Open in GitHub Codespaces”. After initialisation, it will open a new instance of your codespace.

Option 2: Local Project
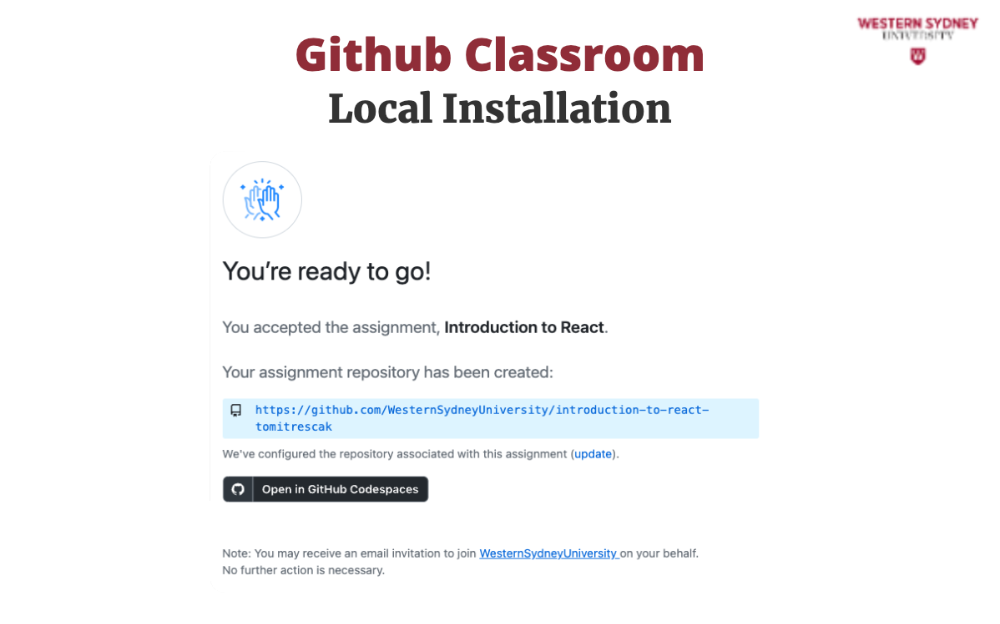
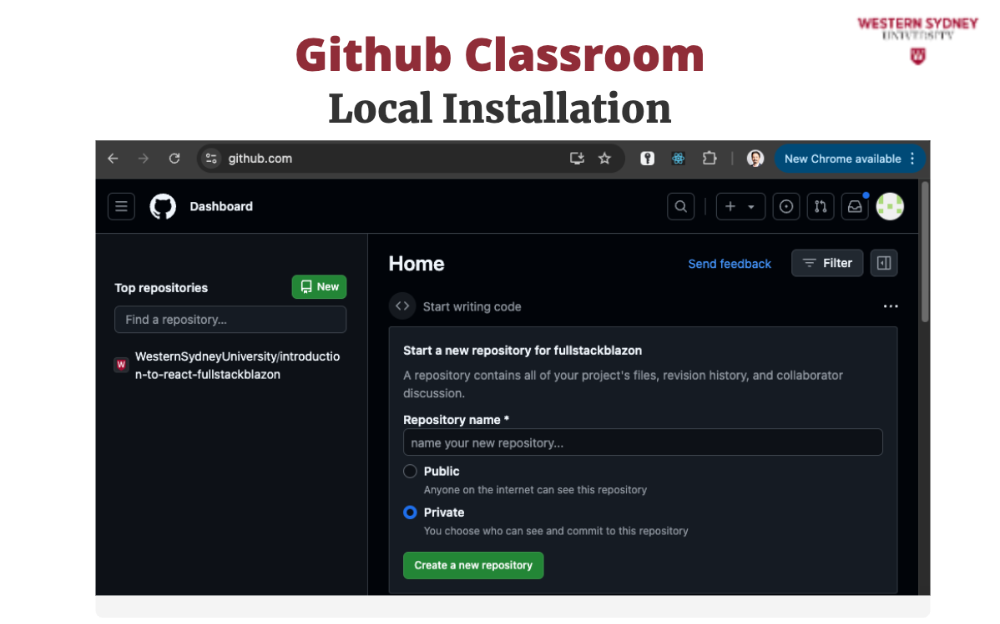
To work on your assignment on your computer, you must download the files from the repository. Make sure that git is installed. First, mark the name of the repository that was created for you for this assignment. It is displayed in the Figure 2 under you're ready to co. In my case, the URL is https://github.com/WesternSydneyUniversity/introduction-to-react-tomitrescak. Please make sure you use your own personalised URL.
If you have already closed the assignment welcome page, you can go to https://www.github.com and you can find the newly created repository in the list of your repositories.
To do that, please create a new folder where you will be storing all your assessments from this course, and then we will clone the files into the new folder. Thus, in your terminal (command line) type:
mkdir Course-FullStackDevelopment-GTD
cd Course-FullStackDevelopment-GTD
git clone <url of your repository>
Once you clone your files to a local folder, please open that folder in Visual Studio Code.
All the script files in the src/app folder, contain many errors (see red squiggles in Figure 1). The problem is that we did not install the packages that the application requires, including React. In the terminal of your editor (the bottom right pane) please type the following command pnpm install and hit enter. This will download all the packages to your project folder. If you want to explore which packages the application needs, please see package.json in the root folder.
Slides

In this section, we explore how this course interacts with GitHub Classroom. But of course, let's hear a joke first! "What did the hacker’s out-of-office reply say? … “Gone phishing.”
GitHub Classroom is a powerful tool designed to streamline the way coding assignments are distributed and reviewed in educational settings. It uses GitHub to provide a space where instructors can easily create, distribute, and grade programming assignments.
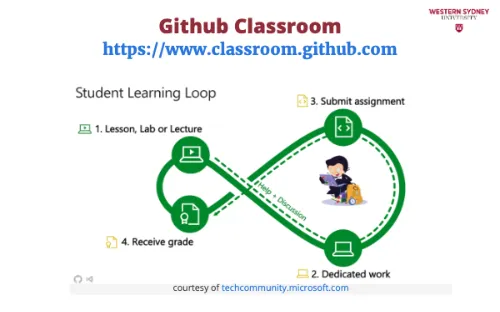
With Github Classroom, you can work either in isolation or in groups, depending on the needs of assignment. Using code reviews or early commits, you can get early feedback on your work, get help or discuss possible options.

Let's start on our first Github Classroom assignment. First, make sure you have an existing Github account and that you are logged in.
Accept your assignment by clicking on the following link.
This will take you to the assignment acceptance page displayed.
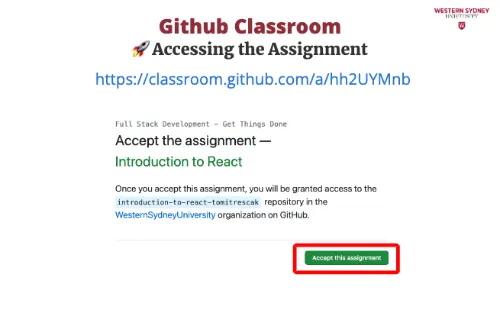
Please click on: Accept this Assignment.
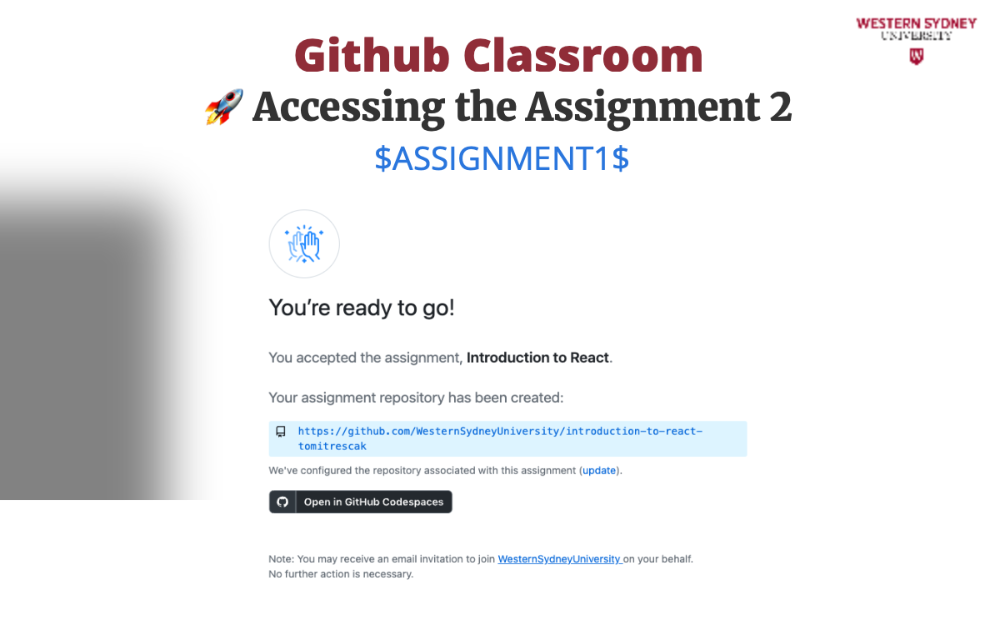
Once you accept your assignment, you are greeted with this page. You now have two options.
You can use the provided online editor, saving you some hassle setting up the software. While this may seem convenient, it is affected by the strength and reliability of your internet connection.
The second and recommended options is to clone your files to your computer from the provided url and use your local development environment to work on your assignment. We will now explore both options.

If you do not want to install applications and tools on your local computer, you are welcome to use Github Codespaces, an online editor that allows you to work remotely on your files.
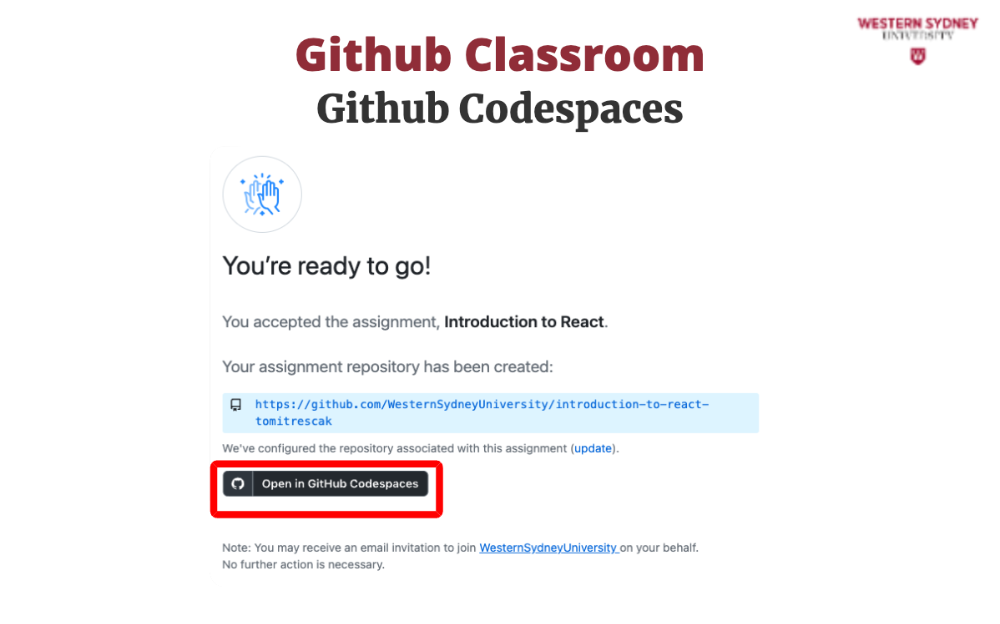
To start the online editor, click on “Open in GitHub Codespaces”.
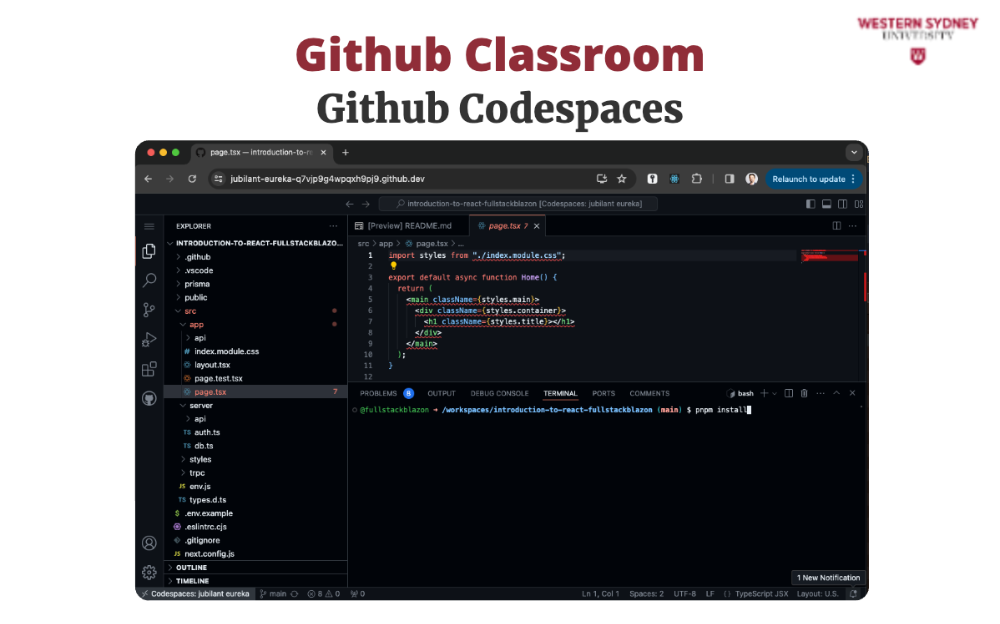
After initialisation, it will open a new instance of your codespace. The user interface looks exactly the same as your local Visual Studio Code, and there is no need to learn a new development environment.
To work on your assignment on your computer, you must download the files from the repository. Make sure that git is installed.
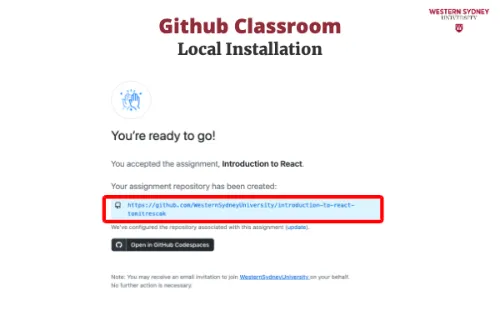
First, mark the name of the repository that was created for you for this assignment. It is displayed under you're ready to go after you accept your assignment. If you no longer see this page. you have two options.
You can click on the following link to accept the invitation again and see the repository link.
Alternatively, login to your Github account.
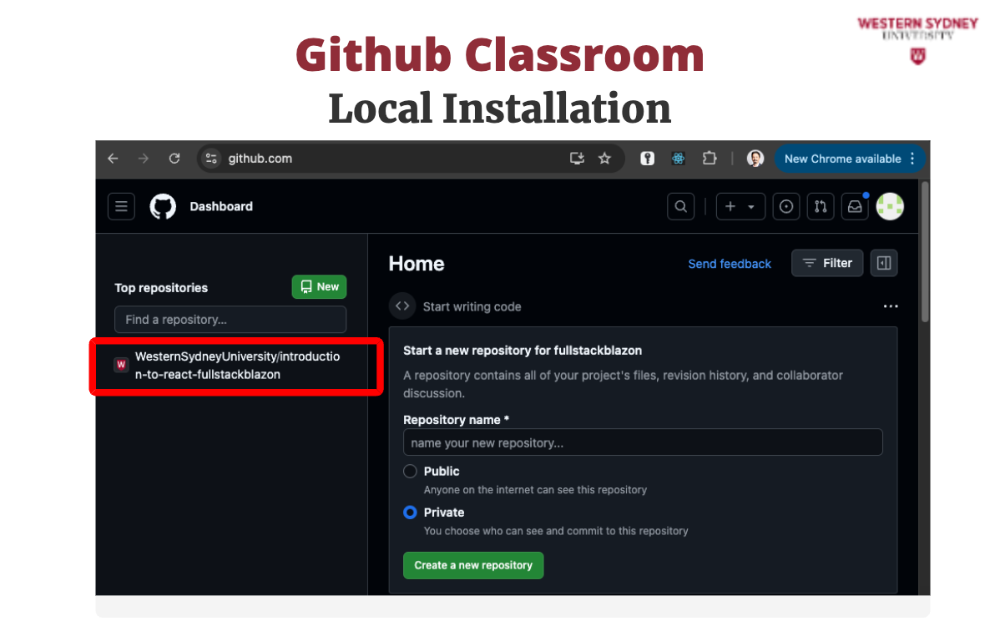
You should see the created repository with your code in the list of your repositories.
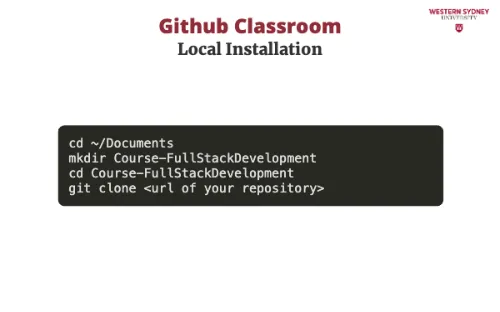
To download this assignment to your computer, please create a new folder where you will be storing all your assessments from this course, typing the first three commands in our example in your terminal or command console.
Then clone the files into this new folder. Make sure you use the url of the repository that you obtained in the previous slide.
You have one more option and that is to clone your files directly in Visual Studio Code. First, navigate to Github.com and open your repository with this assignment.
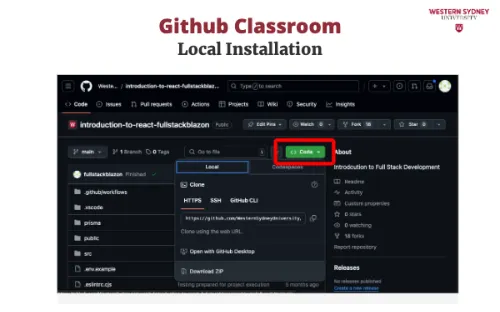
Click on the green "Code" button.

Copy the URL of this repository.
Please watch this short tutorial and make sure you use the url of your repository not the demo url. Please pause this presentation to watch the video.
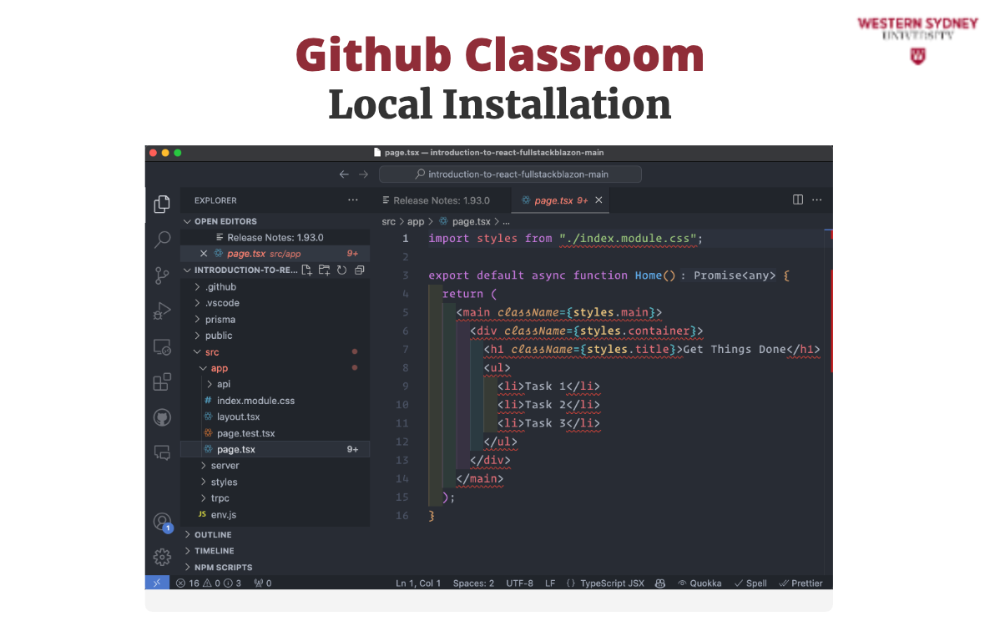
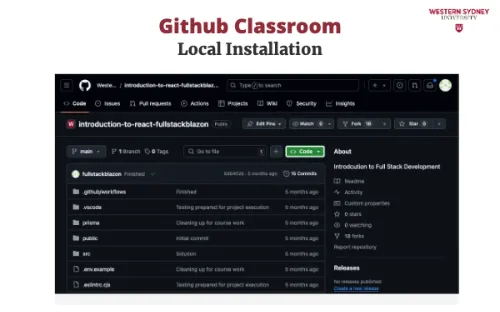
Once you download your files, please use "Open Folder" menu to open the downloaded folder. When you open page.tsx file, you should see the following result.
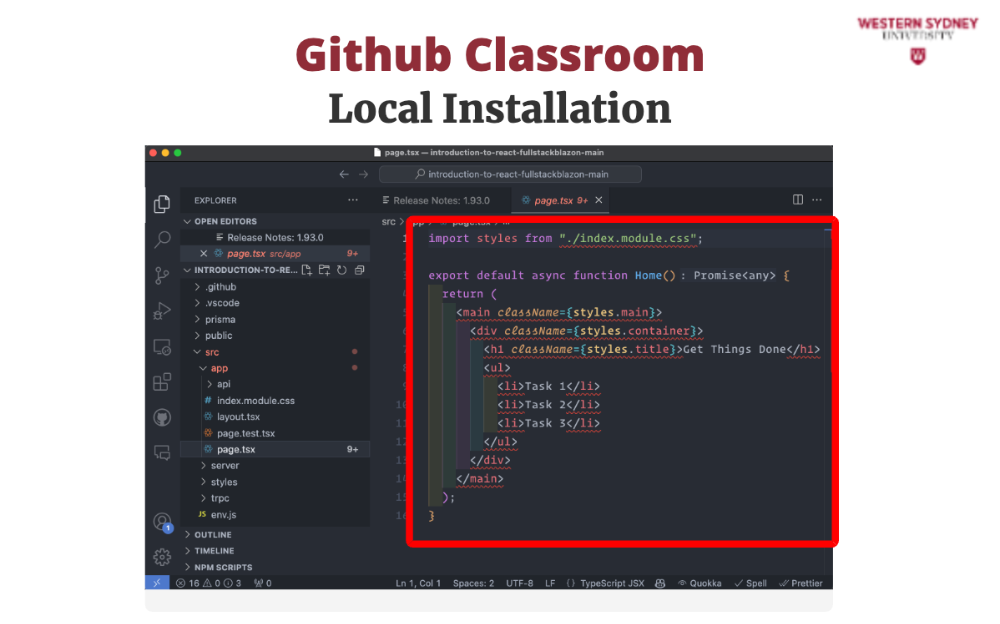
But what about all those red squiggly lines? Yup, those are all errors! But do not despair, these are easy to fix. The reason for so many errors is that we did not install the libraries that power this exercise. Let's fix that.

Again, you have two options. First, you can open a command line or terminal and in the project directory run command pnpm i.
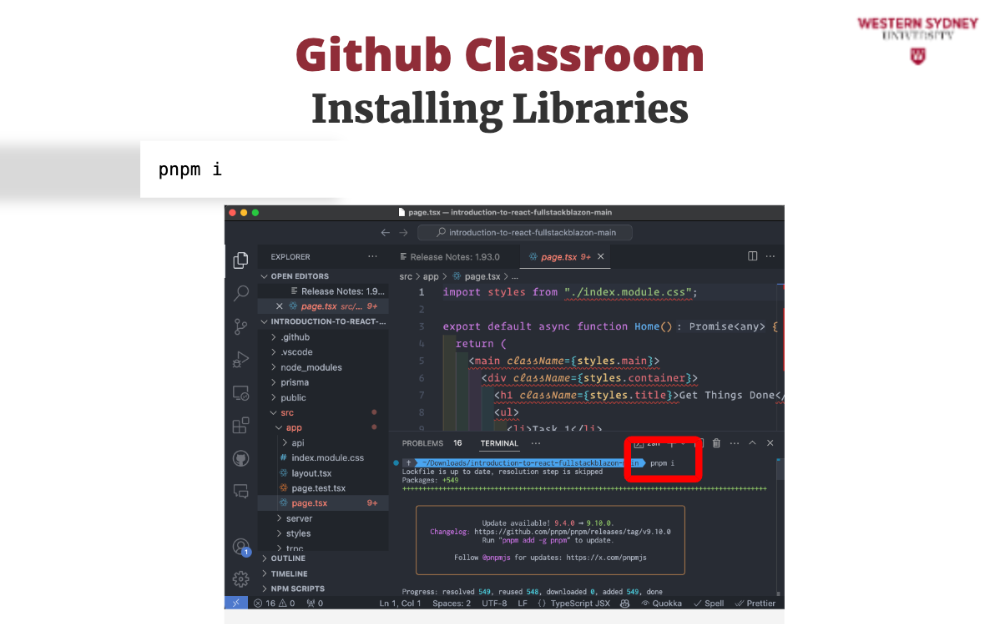
The second option is to do this in Visual Studio Code. You can open the terminal by clicking on "View" in the top menu and then clicking "Terminal". You can also use a handy keyboard shortcut, ctrl + tilde. Then, in the VSCode terminal type pnpm i and hit enter.
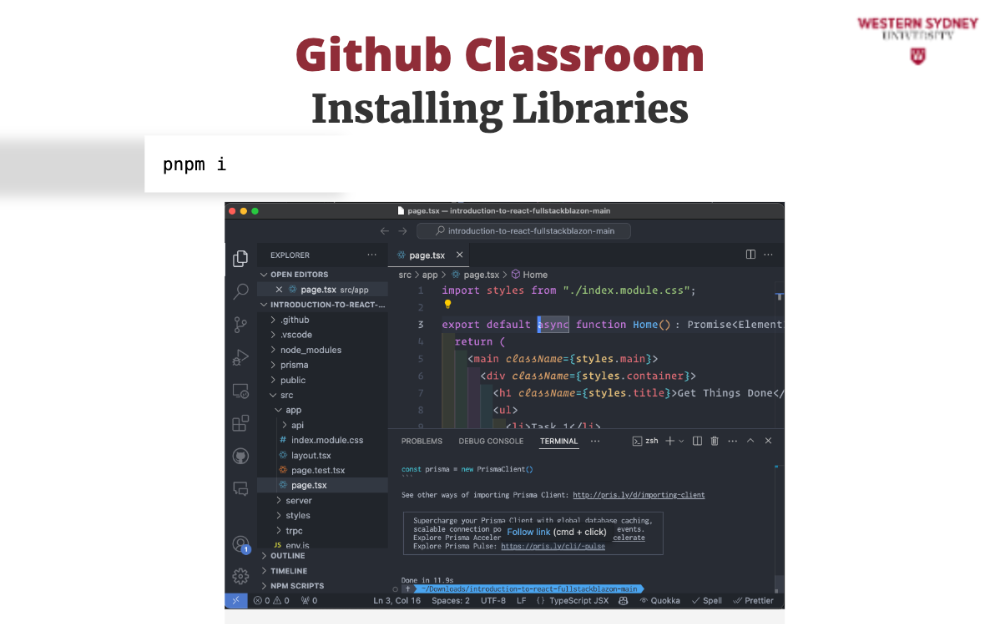
If all went well, the red squiggly lines should have disappeared. Sometimes, it is worth re-starting Visual Studio Code after package install. Before going to the next section, make sure that all errors disappeared.