Continuous Deployment (CD)
Continuous Deployment Made Simple
Imagine you’re building a blogging app where users can read posts, filter them by tags or dates, and admins can add or edit posts. You’ve just finished a new feature—say, a tag-filtering system—and you’re excited to share it with the world. But deploying it manually means uploading files, running tests, and praying nothing breaks. What if your changes could go live instantly, safely, and without the hassle? That’s where Continuous Deployment (CD) comes in.
CD automates releasing your code to production every time you push a change, as long as it passes tests. It saves time, cuts errors, and lets you focus on building—like perfecting that blogging app. Today, we’ll use this app as our example to explore CD, from preview deployments to custom pipelines.
Here’s a question: How many of you think deploying is just “pushing code live”? It’s more than that—and doing it wrong can crash your app or frustrate users!
Section 1: Busting Myths and Setting Up CD with GitHub Branches
Common Misconceptions
Think, “Deploying every change instantly will break everything”? Nope! CD uses automation and tests to stay safe. Or, “CD is only for big teams”? Wrong—it’s for anyone who wants efficiency, even solo devs.
How It Works with GitHub Branches
For our blogging app, say you’re adding a “filter by date” feature on a branch called feature/date-filter. With CD, you get preview deployments—temporary versions of your app for that branch. Test it live without risking the main site.
The flow:
- Push to
feature/date-filter. - A CD tool detects the change.
- It builds and deploys a preview—e.g.,
date-filter.feature.myblogapp.com. - Test it, fix bugs, then merge to
mainfor production.
Handling DNS for Previews
How does date-filter.feature.myblogapp.com just work? Tools like Vercel (more on this soon) manage DNS automatically. They assign subdomains to each branch using a wildcard DNS record (e.g., *.myblogapp.com). When you push, their system maps the branch name to a unique URL, no manual DNS tweaks needed. It’s like magic—but it’s just smart automation.
Section 2: Continuous Deployment with Vercel
What’s Vercel?
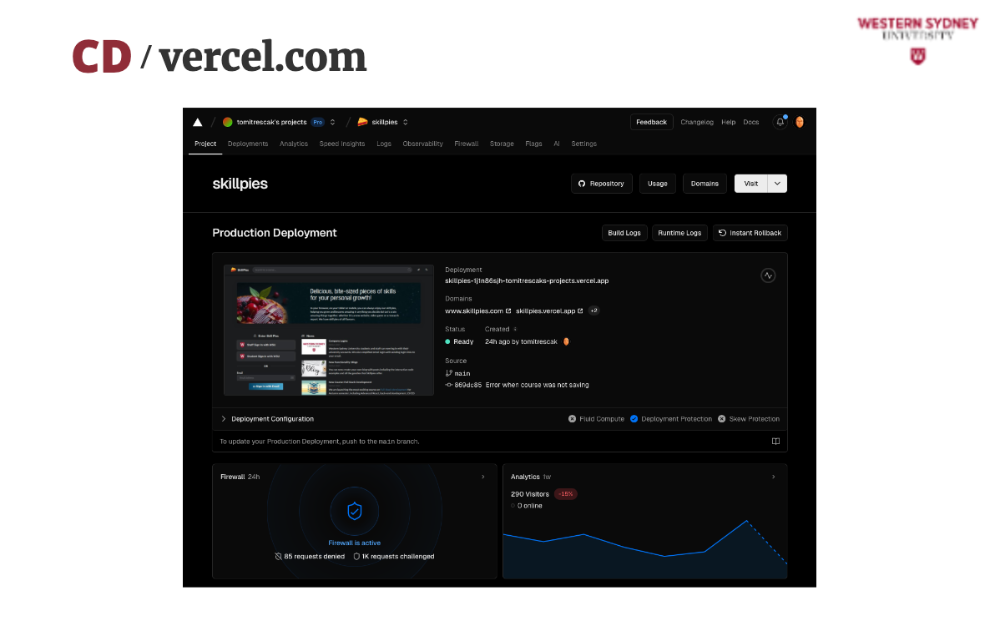
Vercel is a platform that simplifies CD, perfect for web apps like our blogging app. It hooks into GitHub, builds your code, and deploys it effortlessly. It includes advanced monitoring and logging tools, firewall, DDoS protection and much more.

Setting It Up
For our TypeScript React app:
- Push to a GitHub repo.
- Link it to Vercel’s dashboard.
- Vercel detects your setup (e.g.,
package.jsonwith abuildscript). - Push to a branch? Get a preview URL. Push to
main? It’s live.
Expanding the Example
Add an admin “edit posts” feature on feature/admin-edit. Vercel deploys a preview at admin-edit.myblogapp.vercel.app. Test it, confirm it works, merge it—live on myblogapp.com instantly.
DNS in Action
Vercel’s wildcard DNS handles previews. You set a domain (e.g., myblogapp.com) in Vercel, and it creates subdomains like feature-admin-edit.myblogapp.vercel.app (or a custom domain if configured). No DNS fiddling—just push and test.
Pros and Cons
- Advantages: Quick setup, free tier, auto-scaling, DNS magic.
- Disadvantages: Less server control, ecosystem lock-in, costs scale with usage.
Section 3: Alternatives to Vercel
Other Options
- Netlify: Like Vercel, great for static sites. Pros: free tier, custom functions. Cons: weaker for complex backends.
- Heroku: Good for dynamic apps. Pros: multi-language support, scaling. Cons: slower deploys, costly.
- GitHub Actions: Custom control (see next). Pros: flexible, free for public repos. Cons: setup effort.
Comparing with Our App
Vercel or Netlify for the blog frontend; Heroku or GitHub Actions for a beefy admin backend. Match the tool to your needs.
Section 4: Building a Custom CD Pipeline with GitHub Actions and SSH
Why Custom?
For full control—like deploying to your own server—use GitHub Actions. Let’s deploy our blogging app to myblogserver.com by pulling code via Git.
Step-by-Step Example
- Push to
<strong>main</strong>: Finish “filter by tag” and merge. - GitHub Action Triggers: A workflow runs.
- SSH + Git Pull: It connects to the server, pulls the latest code, and builds it there.
Sample workflow (.github/workflows/deploy.yml):
name: Deploy Blog App
on:
  push:
    branches: [main]
jobs:
  deploy:
    runs-on: ubuntu-latest
    steps:
      - uses: actions/checkout@v3
      - name: Deploy to Server
        uses: appleboy/ssh-action@master
        with:
          host: ${{ secrets.SERVER_HOST }}
          username: ${{ secrets.SERVER_USER }}
          key: ${{ secrets.SSH_KEY }}
          script: |
            cd /var/www/blogapp
            git pull origin main
            pnpm install
            pnpm run build
            pm2 restart blogapp
- How It Works: The server has a Git repo clone. The action SSHs in, pulls from
main, installs dependencies, builds, and restarts the app (e.g., a Node.js process). - Expanding It: Add
npm teston the server before building, or use a staging branch for previews (though DNS would need manual setup or a tool like Nginx).
Pros and Cons
- Advantages: Total control, leverages Git, works anywhere.
- Disadvantages: Server maintenance, no auto-DNS for previews, setup time.
Conclusion
Key Takeaways
CD speeds up deployment with safety. GitHub branches and tools like Vercel give previews (with DNS handled via wildcards). Vercel’s easy for web apps; custom pipelines with Git pull suit complex needs. For our blogging app, Vercel could handle user filters, while a Git-based SSH pipeline powers the admin.
Best Practices
- Test before deploying.
- Use previews to catch issues.
- Choose tools based on complexity.
Pitfalls to Avoid
- Don’t skip tests—automation needs guardrails.
- Don’t over-engineer; start simple, then customize.
You’re now ready to deploy like pros—making that blogging app shine with every push!
Slides

In the previous lecture, we discussed Continuous Integration, which ensures that your app is healthy and ready to ship! In this lecture, we'll explore automated methods for deploying your application for preview to testers or to production.
You’ve built a blogging app, but manual deploys slow you down. Continuous Deployment (CD) automates pushing code live—fast and error-free. Today, we’ll make our app shine!
CD saves time, cuts mistakes, and lets you focus on coding—like adding filters to our blog. It’s essential for modern dev workflows.
Think the CD breaks everything as you lose control? Nope—it’s safe with tests. Let’s see how.
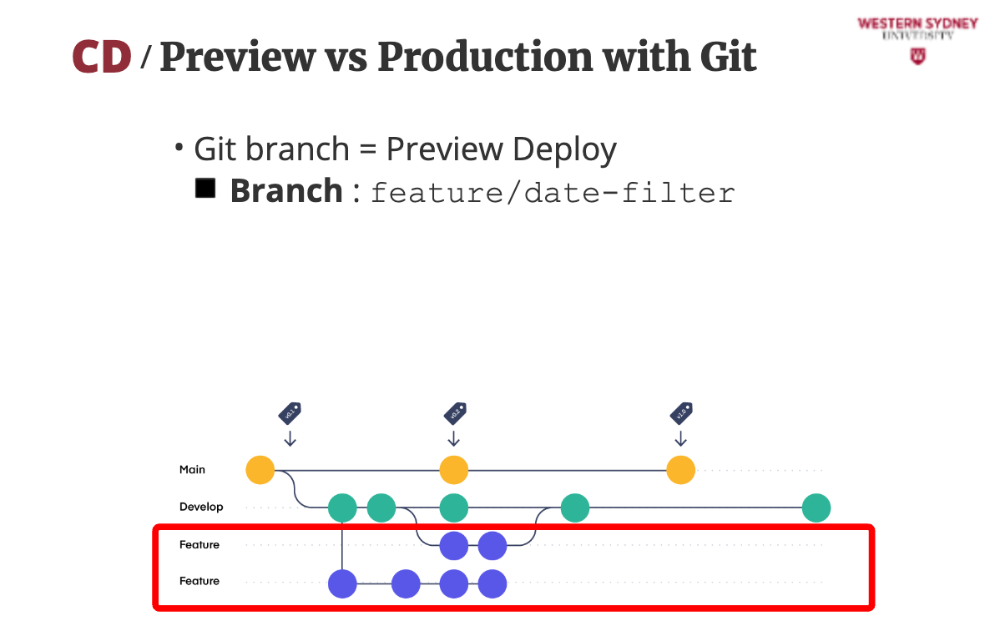
In your app, when you create a new feature branch and push it to the repository, CD tools deploy it as a preview—like a sandbox to test live without risking the main site.
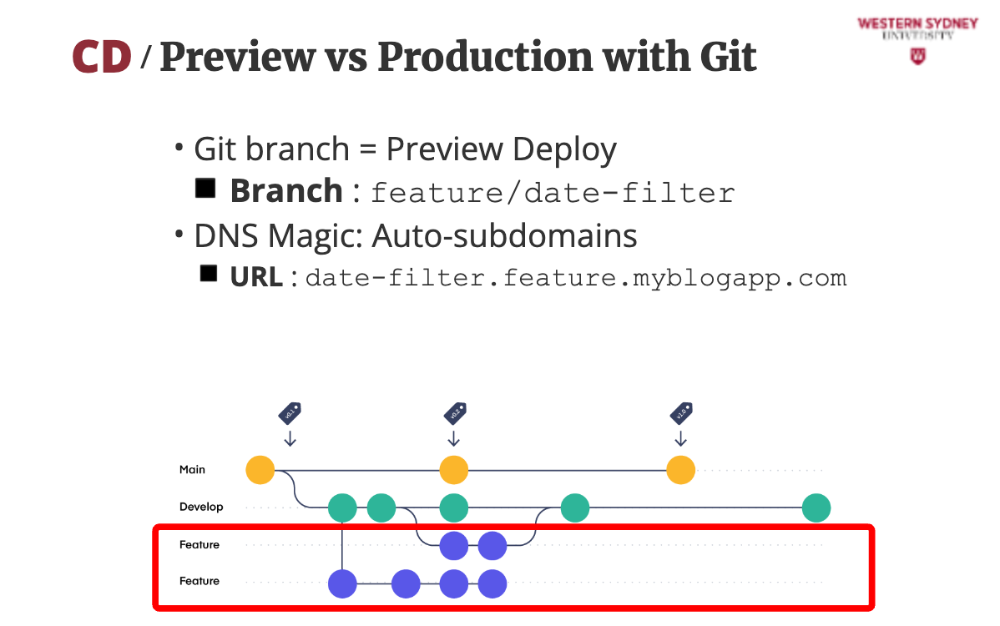
The CD tool creates and publishes a new URL for automatically previewing your feature changes. CD tools use wildcard DNS to map branches to URLs instantly—no manual setup required.
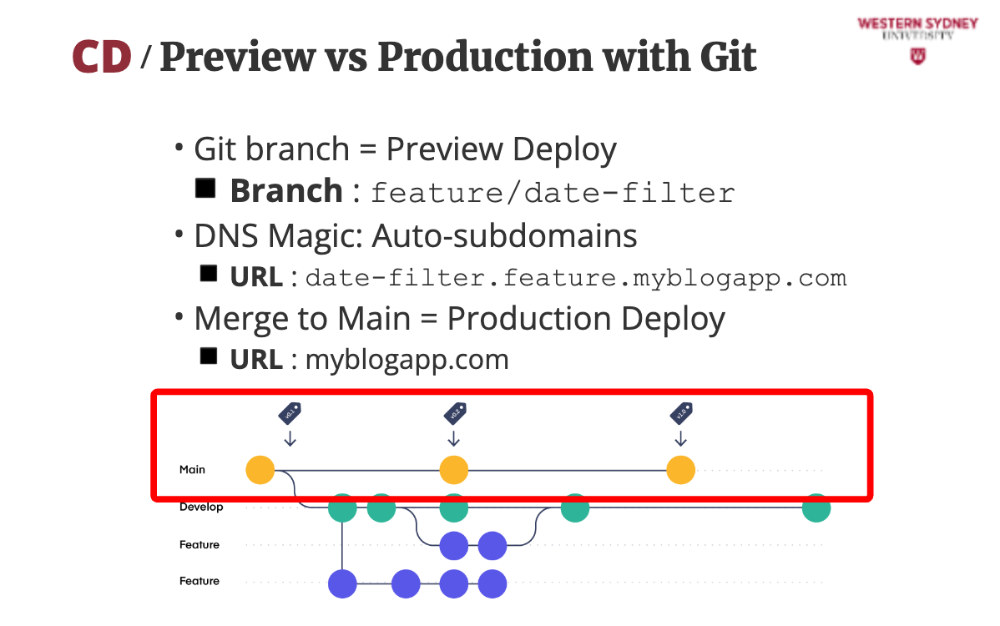
When you fix bugs in the preview and merge these changes to main, CD deploys it live. Simple and safe!
For React apps, Vercel does a wonderful job. When you register, all you need to do is create a new project, link your GitHub repository and push it to GitHub. From now on it auto-detects your build—done!
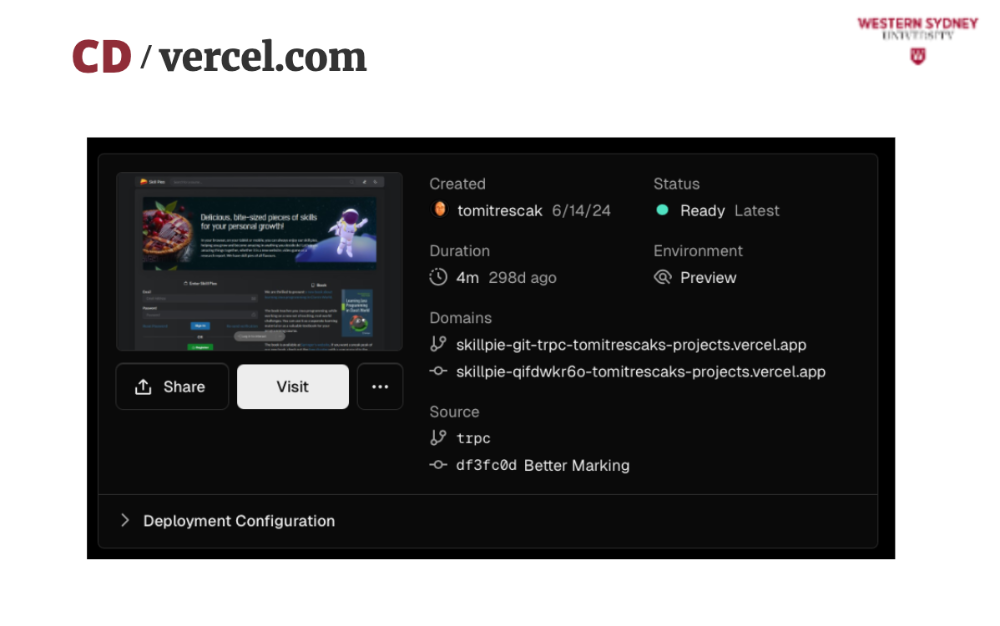
Vercel automatically detects where the change happened.
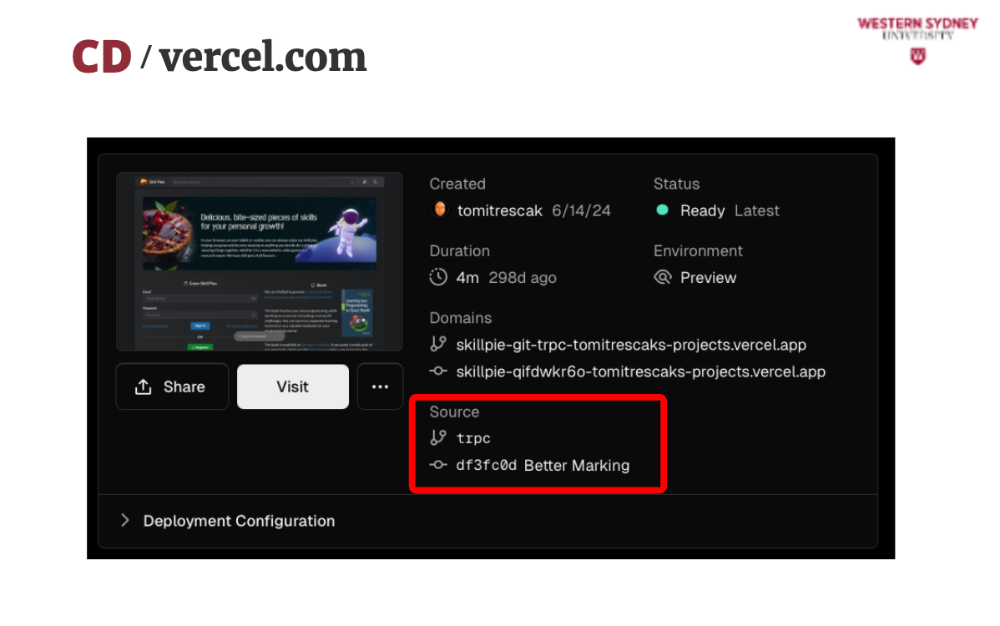
In this case,the changes come from the trpc branch ...
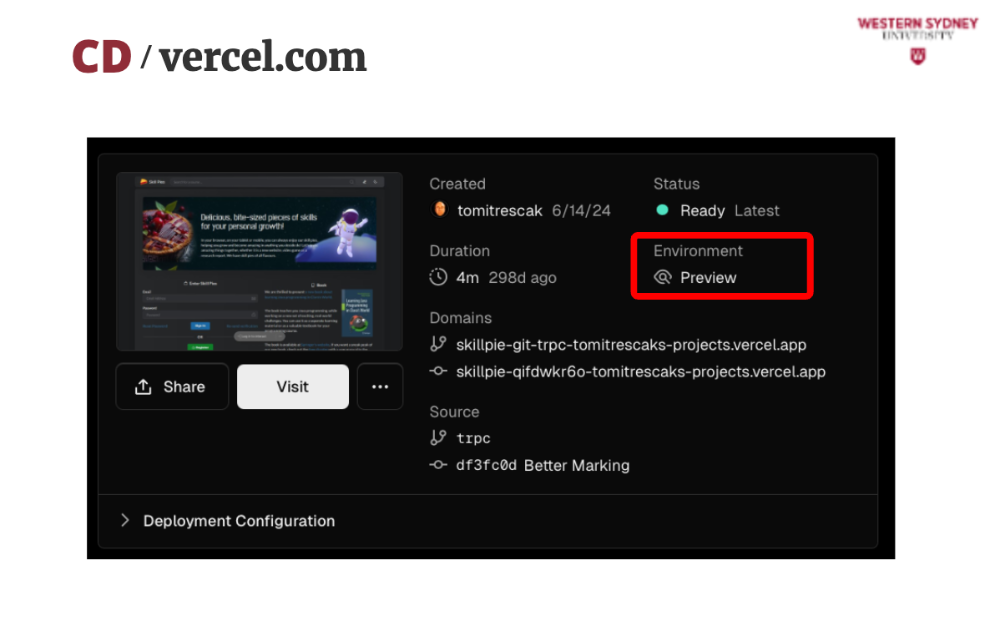
... so Vercel creates a new Preview deployment ...
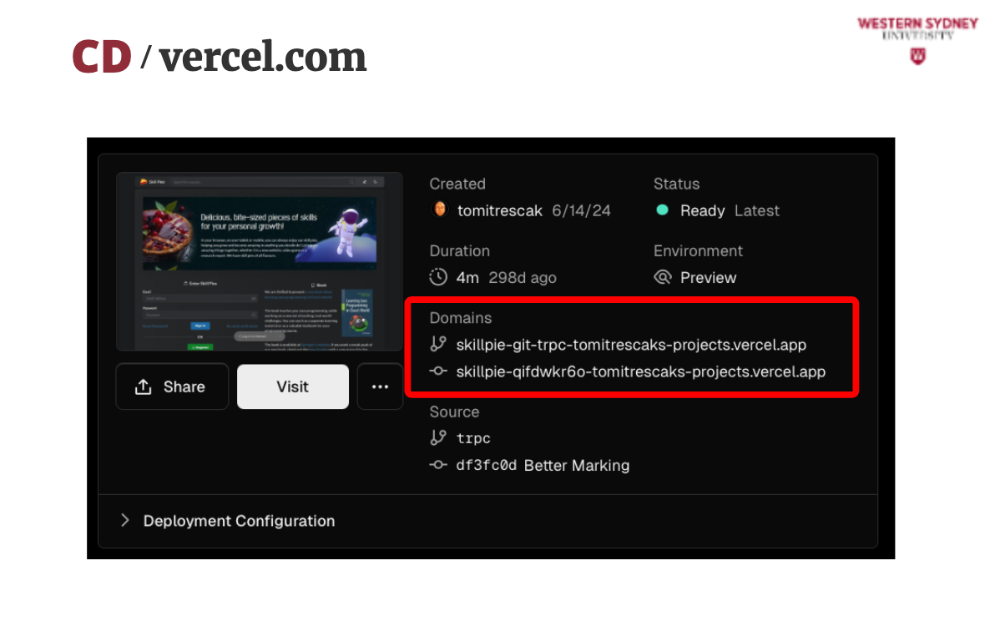
... automatically creating temporary URLs where you can check your preview deployment.
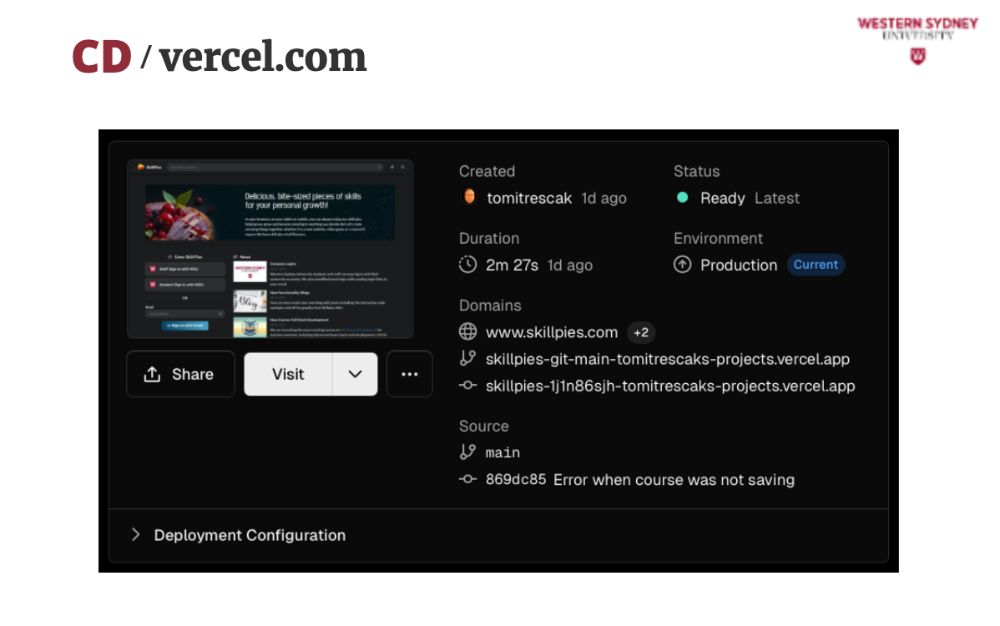
For production you must do things differently.
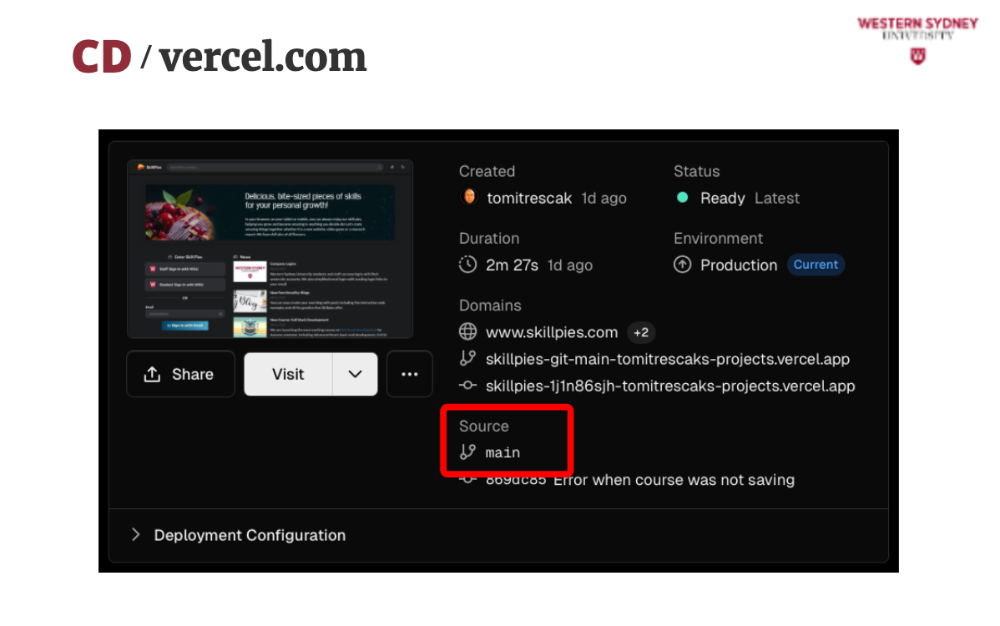
You must publish your code to the main branch.
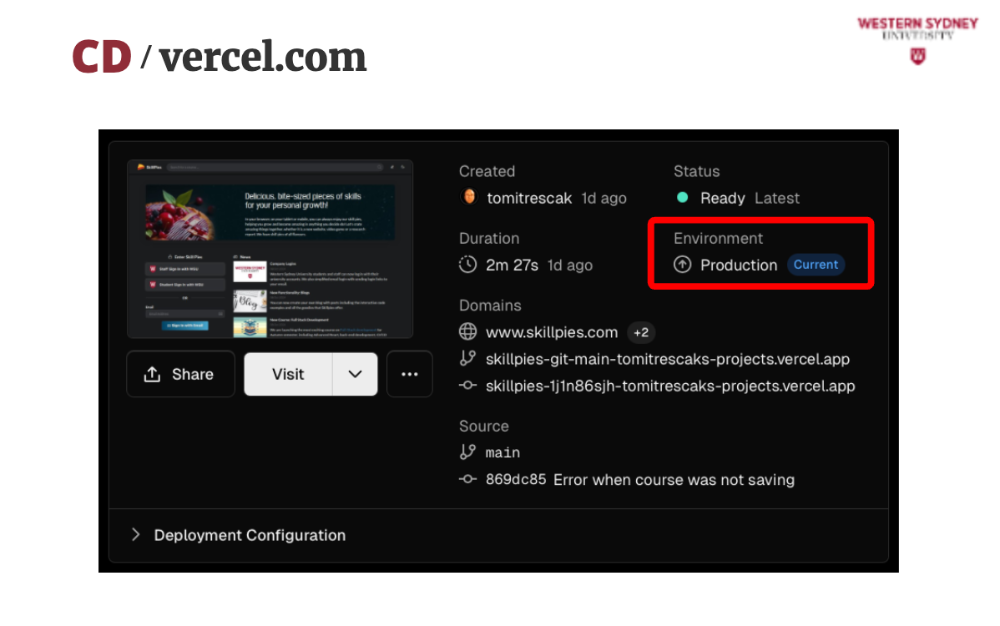
Which automatically creates production deployment.
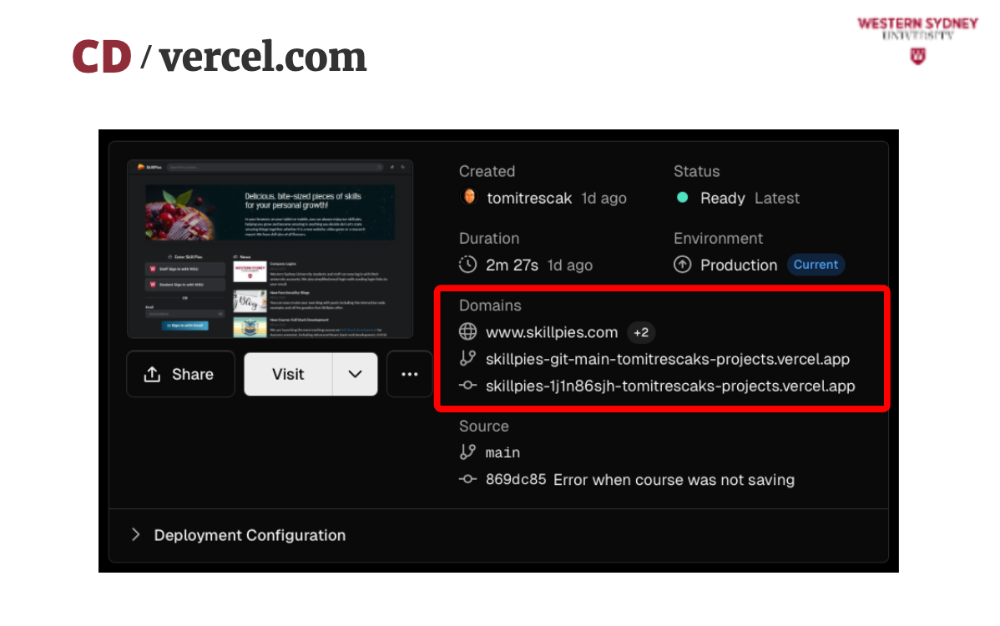
It assigns the main application URL, along with new testing URLs for future use, when you change your production code again.
Let's talk about advantages, disadvantages and alternatives to Vercel deployments.
The advantage of using trusted CD providers such as Vercel is their speed. The auto-DNS makes our blog’s filter feature live in minutes. Free tier’s a bonus!

The disadvantage is that you get less control over servers, meaning our admin backend might need more. Costs rise with traffic, too.
There are also many alternatives to Vercel, each different in features and pricing.
Netlify is like Vercel, great for our blog’s frontend. It's free and easy, but less for backends.
Heroku supports Node.js needs. It scales well but has slower deploys.
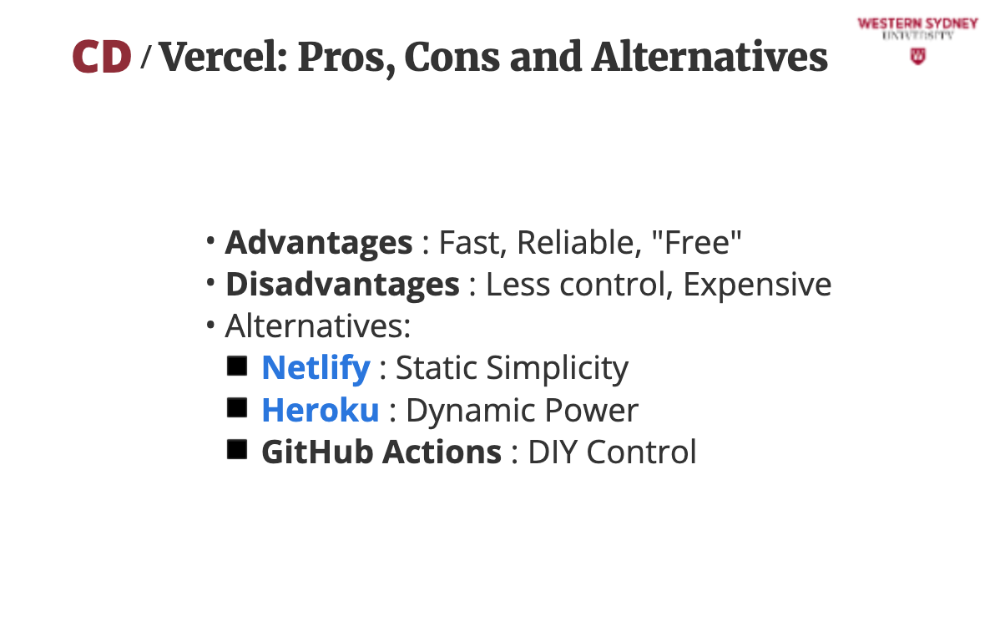
You can also host your own server or use cloud servers such as AWS, Azure or Digital Ocean in combination with CI pipelines such as Github actions. There is much more to set up, but you gain absolute control ... largely over the cost as well.

Let's wrap up!
The key takeway is to understand that CD streamlines your app updates. From previews to production it controls what your developers and users use to make decisions about your product.
With CI/CD always run tests—automation needs guardrails for our app to thrive.
When setting up CI/CD it is easy to lose yourself in countless hours of configuring your pipelines. Do not overcomplicate things. Start siimple and free. with Vercel and Github Actions, scale to custom.